
How I Make Hand-Cut Dovetails (2006)
This is how I make through dovetails. I needed to make two drawers for a pair of end tables I'm working on, so I thought I might as well snap some pics of the process. I've had a few folks request documentation of the demo I gave on dovetails for SEMIWW, so hopefully this will suffice.
Click on any of the thumbnail pics below for full sized versions.
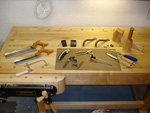
Here are the tools you'll need.
They include a bench or some sturdy worksurface to cut and chisel on, a
dovetail saw (I use either a dozuki or the Lie-Nielsen saw shown here),
a crosscut saw, a fret or coping saw, a vise, a scrap piece of masonite
to protect the bench top while chiseling, a Veritas saddle square, a
Veritas dovetail square, a pair of holdfasts, a round and a flat head
mallet, a carpet or box-cutting knife, a combo square or two, dividers,
a marking gage, and a few chisels. I like to chop the waste while
sitting down (it's much easier on my back) so I also use a stool to sit
on. Some of this stuff is optional, but at a minimum you'll need a
dovetail saw, a bevel gage, a marking gage, chisels, an a mallet.
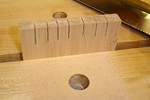
Start by carefully sizing your boards to the correct dimensions and
making sure the end cuts are square. To keep all the pieces straight
mark the fronts and side pieces and the insides and outsides of the
boards. It will be easy to get these mixed up (especially since we're
doing two drawers here), and we want to avoid cutting joint 3 on board
4.
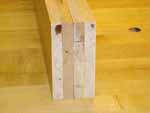

Getting a good dovetail joint is mostly about being able to cut to a
line. I usually draw a couple lines on the end of a cutoff piece of a
drawer side and just practice cutting to the lines. I'll make a few
cuts to remove the line, then I'll cut a few on the left side of the
line, and finally a few on the right side of the line. Concentrate on
keeping the kerfs plumb and keeping them positioned where you want
them. This excercise takes literally all of 2 minutes or less. That's
time well spent, because I'd rather miss a cut on a practice piece than
on a real drawer side.
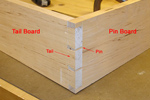
Let's get some nomenclature out of the way. A dovetail joint is
comprised of tails and pins, and I show examples of them in the pic
below. You usually want the pins to be smaller than the tails for
asthetic purposes, but there are no "rights and wrongs" here. You cut
the tails in the tail board, and the pins in the pin board. The slopes
of the tails are typically 1:8 for hardwoods and 1:6 for softwoods but
again there are not absolutes here - use your judgement. For most
drawers you want the tails to show on the side pieces and the pins to
be on the front and back boards.
I usually cut the tails first, so I lay out the joint spacing on the
first tail board. Make a mark in from both ends for the width of the
half pins (I usually use something like 1/4" to provide enough wood to
prevent the 1/2 pins from splitting). Then I set a divider to the width
of one tail plus one pin (by guessing and tweaking till I get spacing
that looks right). Walk the dividers from the edge of the 1/2 pins to
the other end of the board making small dimples in the end grain as you
walk across. Then work from the other half pin back to the start again
making dimples as you go. These dimples mark the edges of the tails,
and the divider method ensures they'll be spaced equally. Some folks
lay out their joints entirely by eye, but I'm much too uptight to
excercise such zen-like feats.
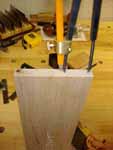
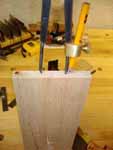
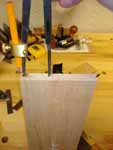
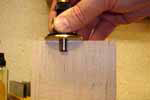
Set a marking gage to the thickness of the boards (assuming both the
tail board and pin boards are the same thickness) and scribe a line
around both sides and edges of all the boards. A wheel gage or a pin
gage work fine.
Use a dovetail marking gage (or a bevel gage set to a 1:6, 1:7, or 1:8
slope) to mark the edges of the tails. Putting your pencil in the
dimples made by the dividers then sliding the gage against it will
ensure your lines are marked exactly as you layed them out.
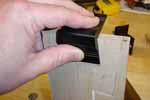
Mark an "X" in all the areas that will be waste. It's very easy to cut
on the wrong side of one of the layout lines or chisel out the wrong
section, and these "X" marks will help you keep the waste straight.
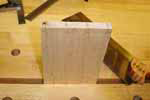
I'm making two drawers here, so I stacked the 4 tail boards in one
bundle so that I can cut the tails together. This helps keep the saw
cuts straight and it saves a bunch of time. This is a big advantage to
the "tails first" method (amongst others).
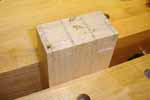
Cut just on the waste side of your layout lines. You can either skew
the boards to keep your cuts plumb or keep the boards plumb (as I show
here) and angle your saw a bit to cut at the correct tail angle.
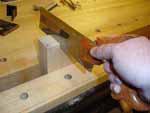
Cut all the tail joints.

Then flip the boards and cut the tails on the other end.
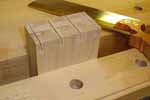
Lay the boards lengthwise in the vise and saw out the waste for the 1/2
pins. If you have one, use a crosscut saw for this. Alternately you can
chisel out this waste but the saw goes faster.
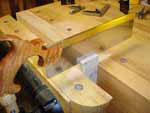
Here is the results with the 1/2 pin waste removed:
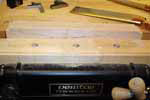
The quickest way to remove the waste between the tails in this maple is
to use a fret saw to get the bulk of it out. Make sure to stay above
the scribed line.

When you do multiple boards at once (like I show here) it's quickest to
stack all the tail boards together and chisel out the waste between the
tails all in one go. Here's the setup, and note that I secure them to
the bench with holdfasts.
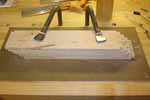
Carefully chisel out the waste. Hold the chisel plumb and don't go
below the scribed lines. Work through all the boards them flip them to
do the other ends.
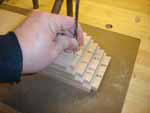
Now on to the pin boards. I hold the pin boards vertical it the vise
and lay the tail board flat on the bench and aligned with the pin
board. Then I carefully transfer the joint spacing from the tail board
to the pin board with a fine-point drafting pencil or a knife depending
on how much room is available.
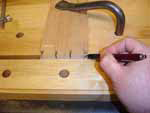
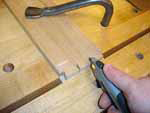
Mark the waste areas with "X's", and saw on the waste side of your
layout marks. You need to be careful to keep your saw cuts plumb, to
stay as close as possilbe to the layout marks while still staying on
the waste side, and to not cut deeper than your scribed lines. If your
sawing technique isn't great you can always make corrections by paring
away the pins with a chisel, but this will slow you down and it has its
own risks.
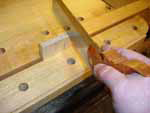
Here's a fairly decent set of cuts.
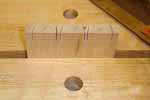
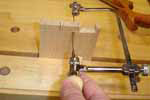
Again, there's a lot of waste to remove here, and since the boards are
maple I cut most of it away with a fret saw.
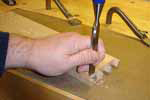
Then carefully chisel away the remaining waste. Place your chisels in
the scribed marks to guarantee the correct depth. Work in 1/2 way from
both sides, and slightly undercut with the chisel to meet in the
middle. Undercutting will guarantee a crisp joint depth with no gaps,
and since this is end grain it's worthless glue surface area anyway.
Test fit the joint and carefully make any tweaks by paring off small
amounts from the pins and/or tails as necessary. It's easy to overdo
any corrections here so take your time and avoid ruining all your work.
You should have a tight joint with no gaps.

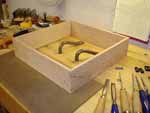
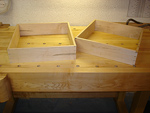
Repeat as needed for all the corners, and before you know it you have a
drawer or two:
There are several other great dovetail how-to guides available on the web. The best place to find them is to start with Cian Perez's index and launch from there. Here's a link to his site: link.
© Copyright 2006 Chris Billman