Misc Turned Doodads (2007)
I've been putting off flatwork projects for the last year or two so that I can get better at making semi-worthless round things like bowls, boxes, platters, hollow forms, etc. I'm getting a reputation in the family of having waaaay too many round things laying around the house. And everyone's pretty much sick of receiving round things from me as gifts.
So when the wife mentions she needs a few new wooden spoons I told her I should be able to make them on the lathe. "A-ha" says I, "another little round project that will extend my lathe time at the continued expense of my flatwork project backlog".
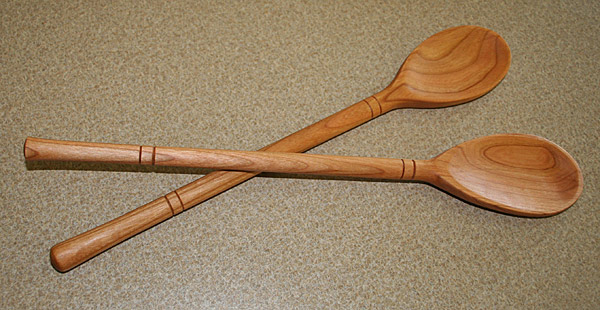
So I make a few of these out of cherry scraps:

So I'll say goodbye to the stack of drying bowls covering the tablesaw and router table and benches. Goodbye to the logs cluttering up the driveway. Goodbye to the endless garbage cans full of chips and shavings. Goodbye to the lathe and all the expensive paraphernalia that I just had to have. Goodbye to turning. For a little while anyway....
Beds and desks and tables and chairs await! (maybe they'll need a few spindles)
Here is a brief overview of how I made them:
1: The outside profile of the spoon bowl was turned on the lathe (easy to keep it symmetrical and make it a pleasing shape).
2: Sanded the spoon bowl to the same thickness as the turned handles with a belt sander (they started out as 3/4" thick blanks, and the handles ended up at around 1/2" or a bit less).
3: Chucked a small carbide burr into a dremel and hogged out the spoon.
4: Sharpened a gooseneck card scraper and refined the hollow.
5: Sanded and sanded and sanded and sanded with 80, 100, 150, and 220 sandpaper.
6: The underside was shaped to roughly match the bowl with the belt sander, rasps, files, and sandpaper (in that order).
There were much easier and quicker than I expected.
Update 11/23/07:
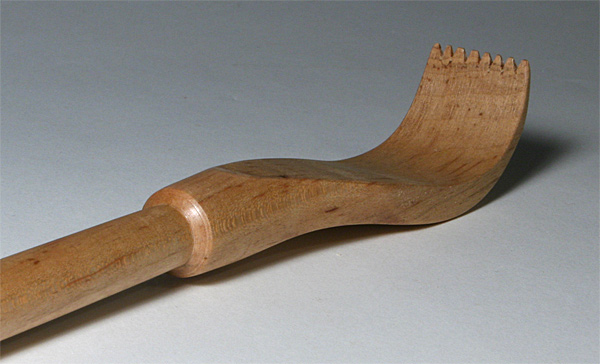
My wife and 3 year old daughter have been arguing over who "owns" the backscratcher we keep in our bedroom. I've come to learn that sometimes a husband/father's role is to keep the peace, and this presented another opportunity to play that role by spending a few hours in the shop making a new backscratcher. This way the wife and daughter each get there own, and there will hopefully be just a tad more harmony in the house at bedtime. I figure I have at least another year to make a third until our 1 year old starts demanding her own....
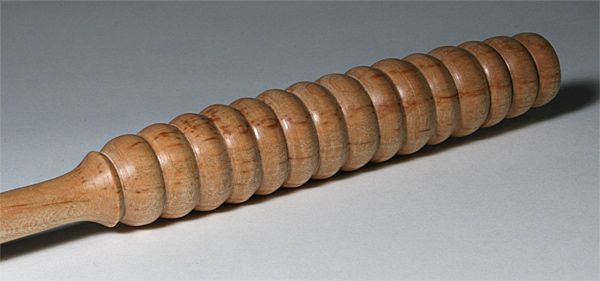
Anyway, I made this from a spare stick of maple. I first turned the shaft and handle while keeping the scratcher section square. Making the long thin shaft was a challenge, and the beaded hand grip offered good practice for the skew. The scratcher was then roughed out on the bandsaw and sanded to shape. Teeth were cut and "sharpened" with a handsaw and chisels. Since the teeth are tiny sections of relatively weak short grain I soaked them in thin CA glue to try to give them a bit more strength. Finally, after a fit of hand sanding the piece was finished with wipe on poly. Kind of a neat project.


© Copyright 2007 Chris Billman